
Room access
Furniture and occupied rooms affect the setup. Homeowner preparation and moving arrangements may vary by project.
One team. Start to finish.
A considered sequence makes room for careful preparation, the right repairs and a finish you can enjoy. Here is how the work can unfold.
Get Free Estimate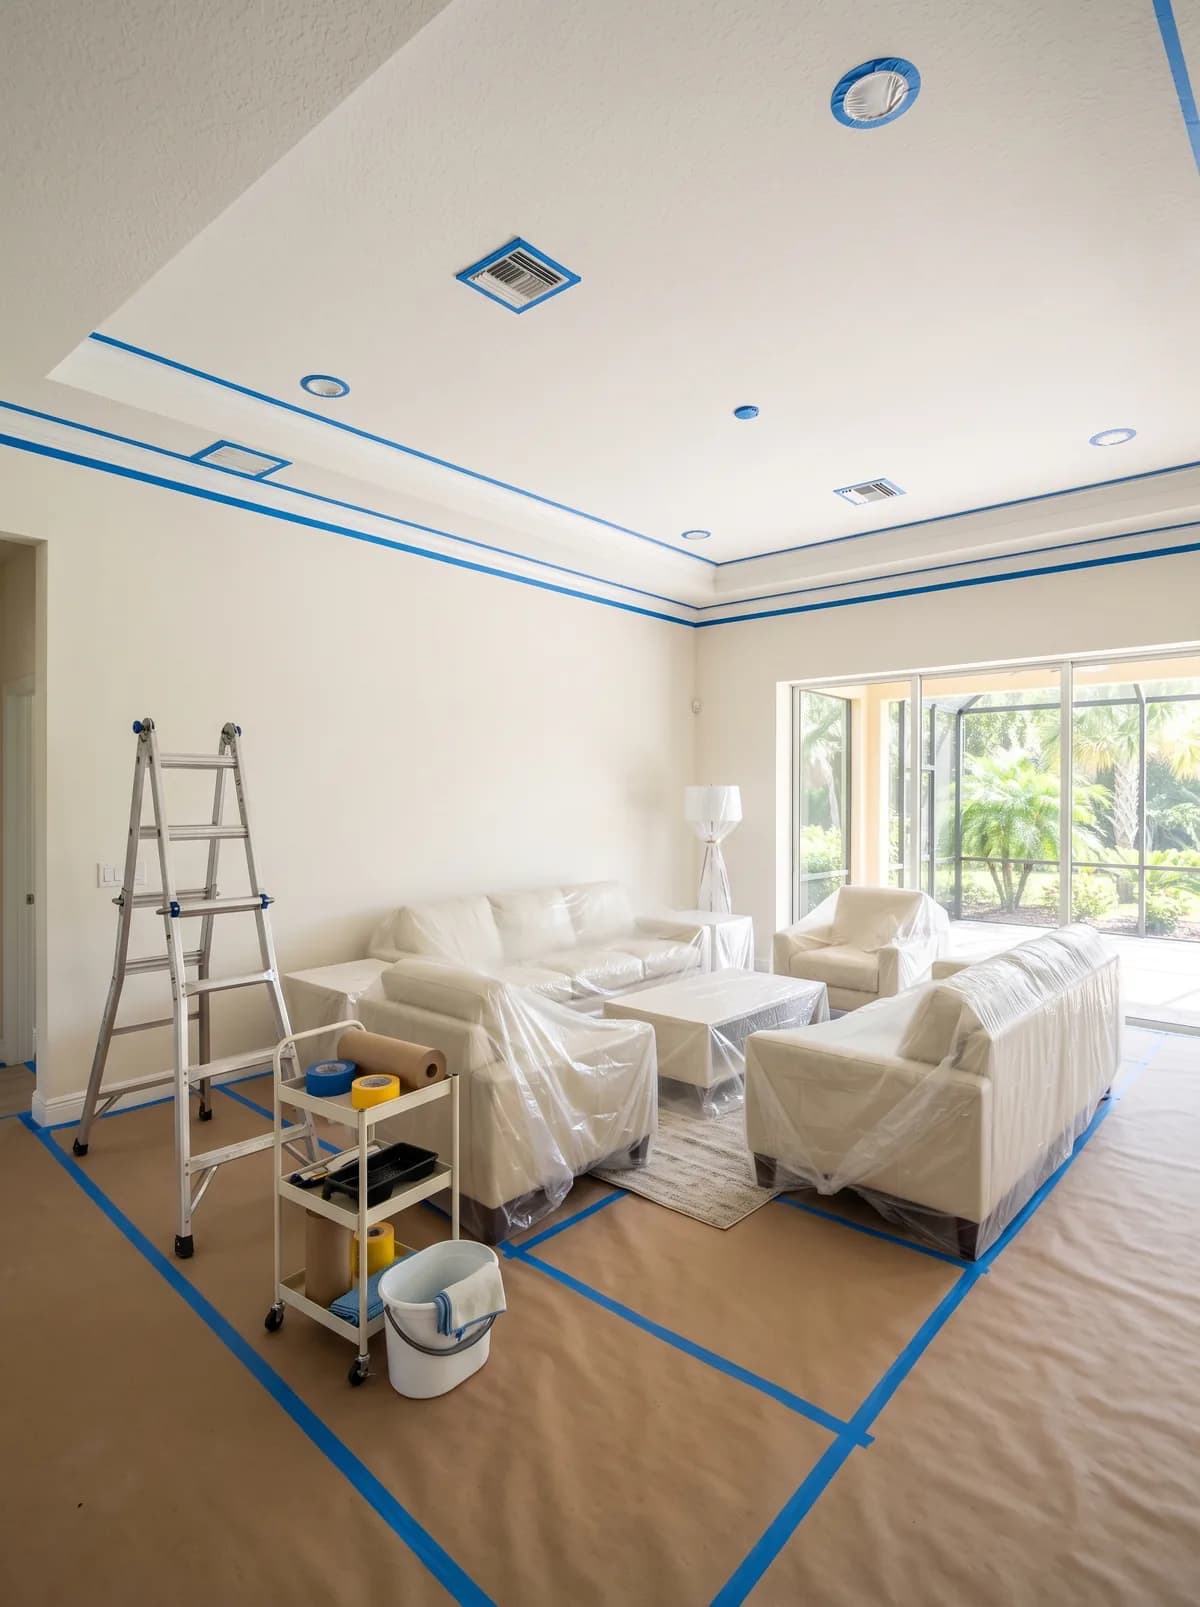
The sequence below describes a complete transformation. Repairs, skim coating, primer and painting are included as needed and as agreed in your project scope.
Discuss the space, ceiling condition, access and desired finish. Agree on what the project includes before work begins.
Plan floor protection and furniture access. Discuss what should be moved or protected for your particular rooms.
Consider fixtures, vents and containment. Setup changes with ceiling height, layout and occupied conditions.
Remove the existing texture using an approach suited to the surface. Painted popcorn can require different handling.
Review the exposed surface for seams, patches and damage that may not have been fully visible before removal.
Address required repairs in the agreed scope. Discuss newly revealed conditions before proceeding with additional work.
Prepare the base for the selected finish. Skim coating is condition dependent and is not automatically required on every ceiling.
Create the agreed smooth or textured surface. Tongue & Groove follows a separate installation scope.
Apply primer as included in the scope to prepare the finished surface for the selected paint system.
Complete the agreed painting scope and color selection. Confirm what is included in the estimate.
Carry out thorough cleanup of the work area and remove the temporary protection as appropriate.
Review the completed scope together and discuss any questions about the finished ceiling.
Dust-conscious preparation starts with the room: floors, furniture, fixtures and vents. It continues through the work and ends with thorough cleanup. The approach is tailored to the space.
You do not need to guess how to prepare your home. Discuss these practical details during the project review.
Furniture and occupied rooms affect the setup. Homeowner preparation and moving arrangements may vary by project.
High or vaulted ceilings affect access. Painted popcorn may call for a different removal approach.
Some existing damage only becomes fully visible after the texture is removed. Newly identified repairs should be discussed with you.
Timing depends on the rooms, access, ceiling condition, selected finish and drying stages. A project-specific sequence can be discussed with the estimate; square footage alone does not define a reliable schedule.
A ceiling that feels like home
Start with a few photos and the finish you have in mind. Get a free estimate for your home in Orlando & Central Florida.
Get Free Estimate